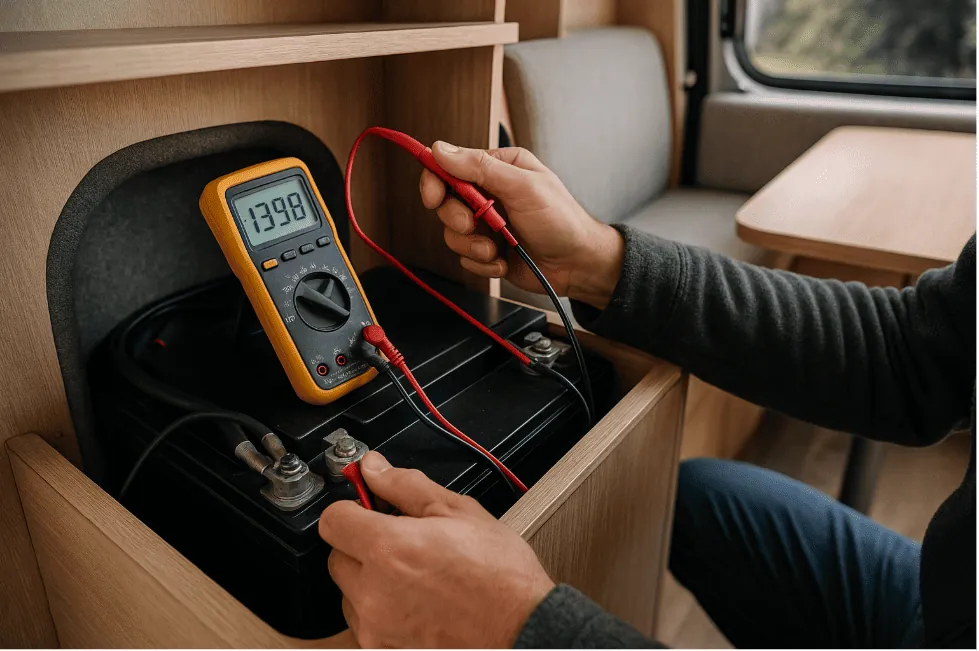

If you work in a workshop, you know the scene: the customer comes back saying "the new battery isn't working right". And most of the time the battery is perfectly fine; what's failing is some detail of the installation. Lithium forgives sloppy work far less than lead does, so going over these points saves you repeat visits and warranty disputes.
These are the mistakes that come up most often, from most to least frequent, and how to avoid them.
1. Undersized wiring
Lithium delivers and accepts current eagerly. If the cable is too thin for the current that's going to flow through it, it heats up, voltage drops, and in the worst case there's a real hazard. It's mistake number one.
Cable gauge should be calculated from the maximum current and the length of the run, not eyeballed by reusing the wiring from the old AGM setup. A cable that was fine for a modest lead-acid installation can fall short once you add lithium and a powerful inverter.
2. Missing or miscalculated fuses
Every line needs to be protected by a fuse of the correct rating, as close as possible to the battery's positive terminal. Skipping the main fuse, or fitting an oversized one "so it doesn't trip", removes protection right where it's needed most. The fuse protects the cable and the installation, not the battery: without it, a short circuit meets no resistance.
3. Not protecting against cold charging
This one is specific to lithium and causes expensive damage. Charging LiFePO4 cells below 0°C causes permanent degradation. If the battery doesn't have a BMS that cuts charging in cold conditions, or if that protection gets bypassed, it gets damaged in winter without anyone visibly doing anything "wrong".
The solution is to use batteries with that protection built in. Upcyon's automatically cut charging when cell temperature drops below the safe threshold. For the technical detail, see temperature and lithium batteries, and the BMS's role in what a BMS is.
4. Connecting the alternator without proper regulation
Connecting the lithium battery directly to the alternator through a simple split-charge relay can cause problems: lithium demands so much current it can overload an alternator that isn't built for it, and the charge curve isn't ideal either. The recommended approach is a DC-DC charger (booster) that regulates charging from the alternator, protecting it while charging the lithium correctly.
5. Reusing a lead charger with no lithium profile
Lead-acid and lithium batteries charge at different voltages and curves. An old charger set up for AGM or gel doesn't charge lithium well: it can leave it half-charged or force the wrong voltages. You need a charger with a lithium (LiFePO4) profile, or a configurable one. It's a cheap change that avoids autonomy problems that later get unfairly blamed on the battery.
6. Poor location and ventilation
Even though lithium handles a wide range (Upcyon's from -20°C to 60°C), mounting the battery right against the engine, the exhaust, or in a space with no ventilation shortens its life through sustained excess heat. Look for a ventilated spot, accessible for checking connections, and away from heat sources.
7. No logging or access for diagnostics
A management mistake more than an installation one: fitting a battery and leaving no way to find out what happened if an issue comes up. Batteries with an app and remote diagnostics let you see the history (voltages, temperatures, alarms) without dismantling anything. That turns many in-person visits into a five-minute check. Upcyon's workshop mode is built exactly for this: configuration and diagnostics for the professional, kept separate from user mode.
In short
Almost all lithium "battery failures" actually come down to wiring, fuses, alternator charging, or cold-charge protection. Lithium performs beautifully when the installation is up to the job. The one thing to do today: before handing over the vehicle, run through this short list — cable gauge, main fuse, lithium charging profile on the charger, and cold-charge protection; those four points cover most repeat visits. For the full installation, see how to organise your motorhome's electrical installation.