
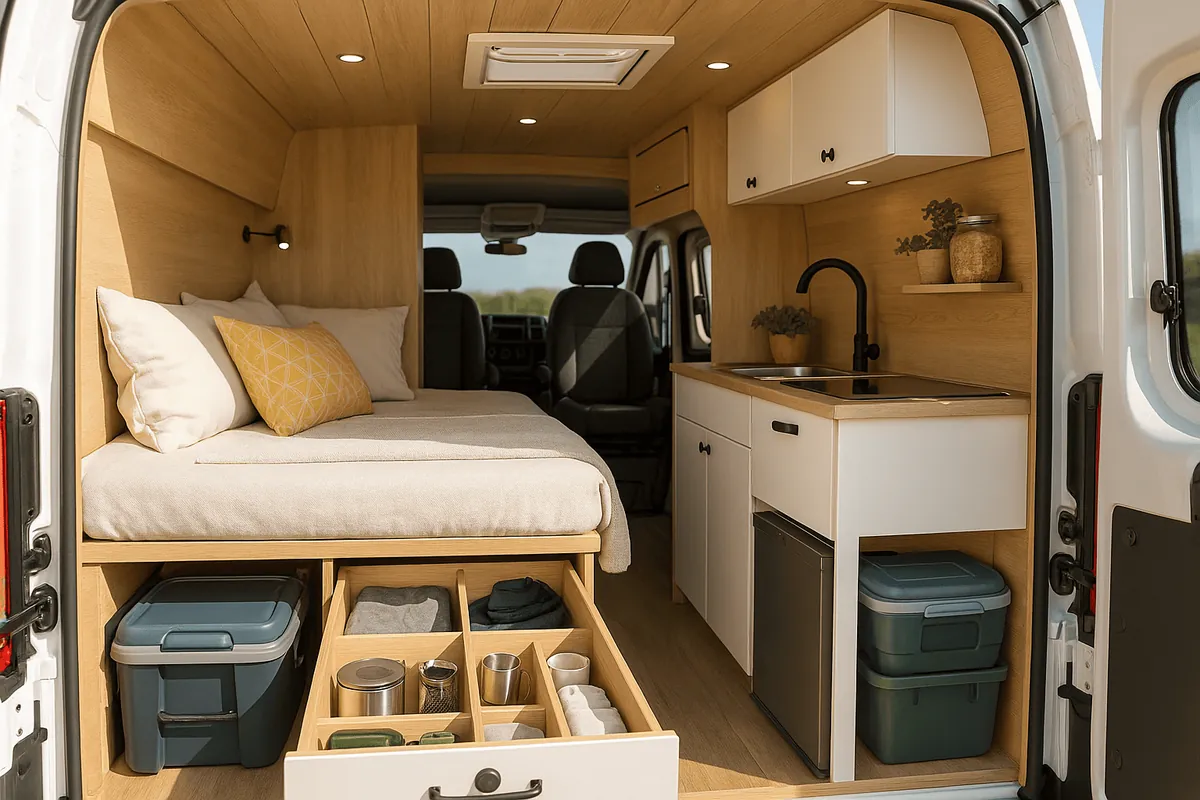
Arriving at your destination only to find that the fridge has stopped cooling, that you have no battery left to charge your laptop or that you have run out of light two nights into the trip is one of the most typical —and most avoidable— setbacks for those who travel in a motorhome or camper van. The good news is that, with a little planning, organising the electrical side of your vehicle for a weekend is much simpler than it seems.
Why energy is the starting point of any getaway
Before thinking about the route, where you are going to sleep or what to put in the fridge, it is worth being clear about one figure: how much energy you are going to consume and how much you can generate or store. Everything else —from whether you need to look for a campsite with electricity to whether you can afford to use the electric coffee maker in the morning— depends on that calculation.
The electrical installation of a camper van is based on three elements: the auxiliary battery (where the energy is stored), the charging sources (alternator, solar panel, mains connection) and the loads (everything you plug in or switch on). Organising these three elements well is the difference between a relaxed getaway and one with surprises.
Calculate your van's real consumption before setting off
The first step is to make a list of everything you are going to use during the weekend and estimate how many hours a day each thing runs. These are the most common loads in a camper van:
- Compressor fridge (40-60L): 0.8-1.2 Ah on average per hour (it runs intermittently), about 20-30 Ah per day.
- Interior LED lighting: 0.3-0.5 Ah per hour of use, usually 2-3 Ah per day.
- Water pump: occasional consumption, but significant while running; count about 2-4 Ah per day with normal use.
- Phone, tablet and laptop chargers: between 3 and 8 Ah per day depending on the number of devices.
- Diesel or gas heating (fan and electronics): 3-6 Ah per night of use.
- Inverter for small appliances: highly variable, but a coffee maker or hairdryer can consume in minutes what the rest of the installation uses in hours.
Adding these values up, a van with "standard" equipment usually sits in a range of 40 to 80 Ah per day. If your vehicle has a roof air conditioner, electric heating or higher-consumption equipment, that figure can easily rise. If you want a more precise calculation for your specific case, in our runtime calculator you can enter your appliances (or the total watts directly) and see how long each battery model would last.
Choose the right battery for 48-72 hours of runtime
Once you know how much you consume per day, the next step is to choose a battery that can withstand that consumption for the time you will be away, without relying on charging every night. This is where the difference between lithium (LiFePO4) and lead-acid (AGM/Gel) really shows:
- Depth of discharge (DoD): a lead-acid battery should only be discharged to 50% of its capacity to avoid drastically shortening its service life. A LiFePO4 battery can be safely discharged to 100%, so a 100 Ah lithium battery is equivalent, in real use, to a 200 Ah lead-acid one.
- Weight: a 100 Ah LiFePO4 battery weighs around 11-12 kg, compared to 25-30 kg for an equivalent lead-acid one. In a van where every kilo counts towards the payload, this is relevant.
- Life cycles: while a lead-acid battery usually lasts between 300 and 500 charge/discharge cycles, Upcyon LiFePO4 batteries exceed 4,000 cycles, which translates into many years of weekends without having to think about replacing it.
For a weekend getaway (2-3 days) with an average consumption of 50-70 Ah/day, a 100 Ah battery is usually enough if you can recharge on the return or arrival journey. If you take longer trips, with no mains access or much sun, 150 or 200 Ah models give a lot more margin.
Organise charging: mains, alternator and solar panel
As important as battery capacity is being clear about how you are going to recharge it during the trip:
- Mains connection (campsite or home): the fastest and most predictable way to charge to 100% before setting off.
- Vehicle alternator (with DC-DC charger): every hour on the road recovers a significant part of what was consumed the night before, especially on long journeys.
- Solar panel: ideal for getaways where you will be parked for several days, especially in spring and summer. A 100-200W panel can provide between 30 and 80 Ah per day depending on the radiation.
The most common combination —and the one we recommend— is to set off with the battery at 100% (charged at home or on the last road journey) and supplement with a solar panel during your stay. That way, unless consumption is very high or the weather very cloudy, you should not have to worry about energy throughout the whole weekend.
The checklist before setting off
With the Upcyon app, connected via Bluetooth to your battery, you can check the state of your installation in seconds before starting up:
- State of charge (SOC): confirm you are setting off at 100% or close to it.
- Voltage and temperature: useful especially in the colder months (we look at this in detail in this article).
- Estimated runtime: the app calculates how many hours or days you have left based on current consumption, so you know whether you need to adjust the use of any appliance.
- History in Workshop Mode: if something is not working as expected, you can review the consumption log of the last few days to detect which appliance is drawing more than it should.